Installing a wall access panel requires careful consideration of both functionality and aesthetics. Whether you need to access electrical systems, HVAC components, or plumbing, choosing the right installation method is crucial for a seamless integration into your space. For millworkers and architects, this integration represents a critical intersection of technical requirements and design integrity. Professional installation ensures both efficient maintenance access and preservation of architectural intent in high-end projects.
Common Reasons for Needing Wall Access Panels
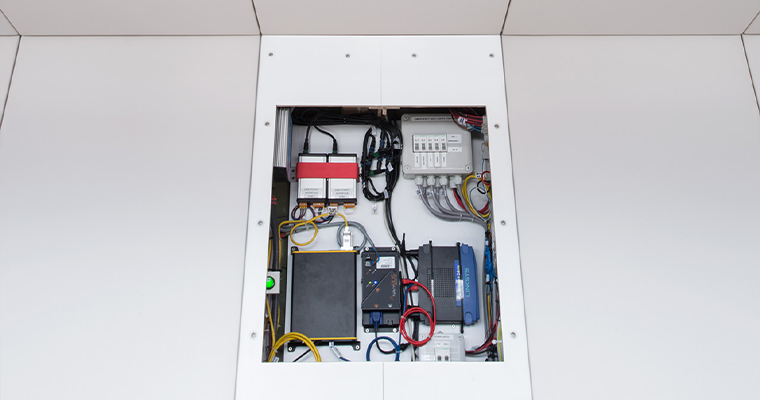
Access panels are essential for maintaining various building systems including electrical components (e.g. wiring, junction boxes, computer cabling, lift systems), HVAC elements (e.g. ductwork, air handlers), and plumbing systems (e.g. pipes, valves, fittings).
Building code compliance often requires accessible service points for critical systems, particularly in commercial applications. Future maintenance cycles should be considered when planning access panel locations and mounting methods. In architecturally significant spaces, access panels must be strategically positioned to maintain design integrity, while still providing the necessary service access. The frequency of required access directly impacts mounting method selection, with high-traffic access points demanding more durable solutions.
Wall Access Panel Installation Methods and Solutions
An access panel in a wall can be created in a number of ways. The method you choose will be dependent on the panel’s material, weight, how frequently you need access, and the desired interior finish. For professional millworkers and architects, selecting the appropriate installation method involves balancing immediate installation efficiency with long-term serviceability requirements.
Visible Wall Access Panel Options
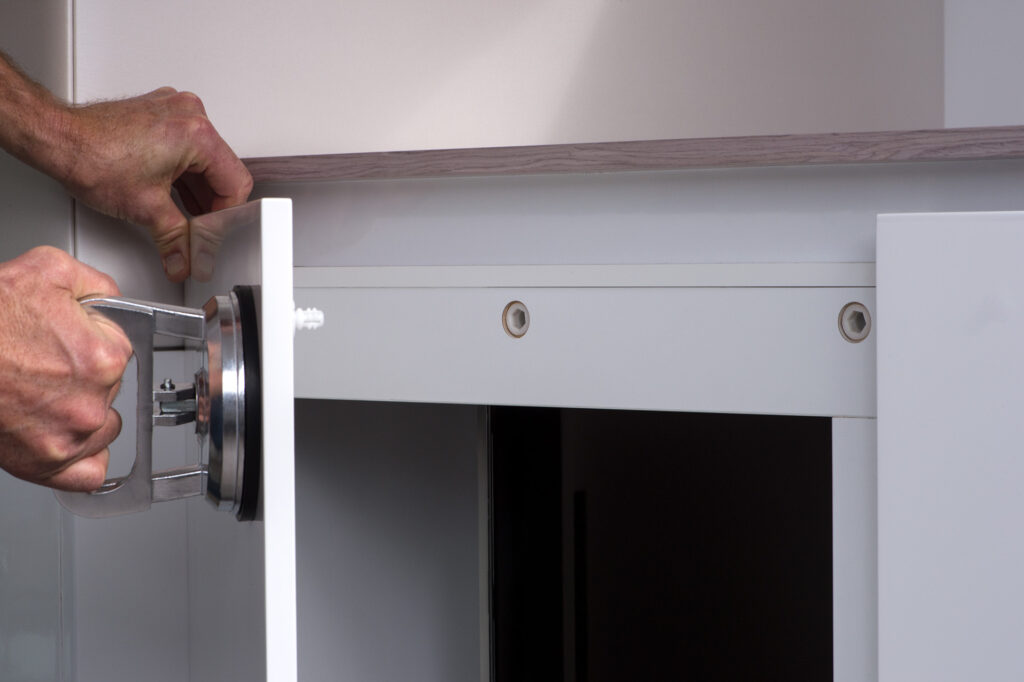
Pre-manufactured access panels offer quick solutions for standard installations. They come in standard sizes and designs, and come with a few mounting options. These options include screw-mounted panels, spring-loaded systems, and magnetic closures.
Hidden Access Panel Mounting Systems
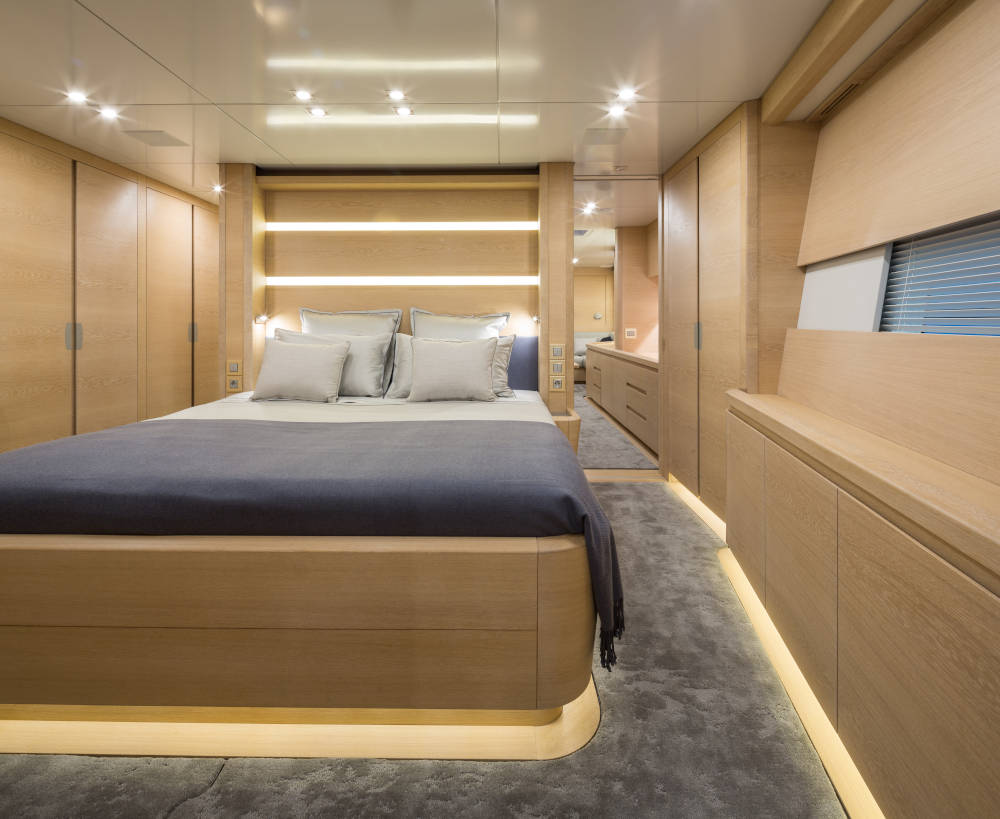
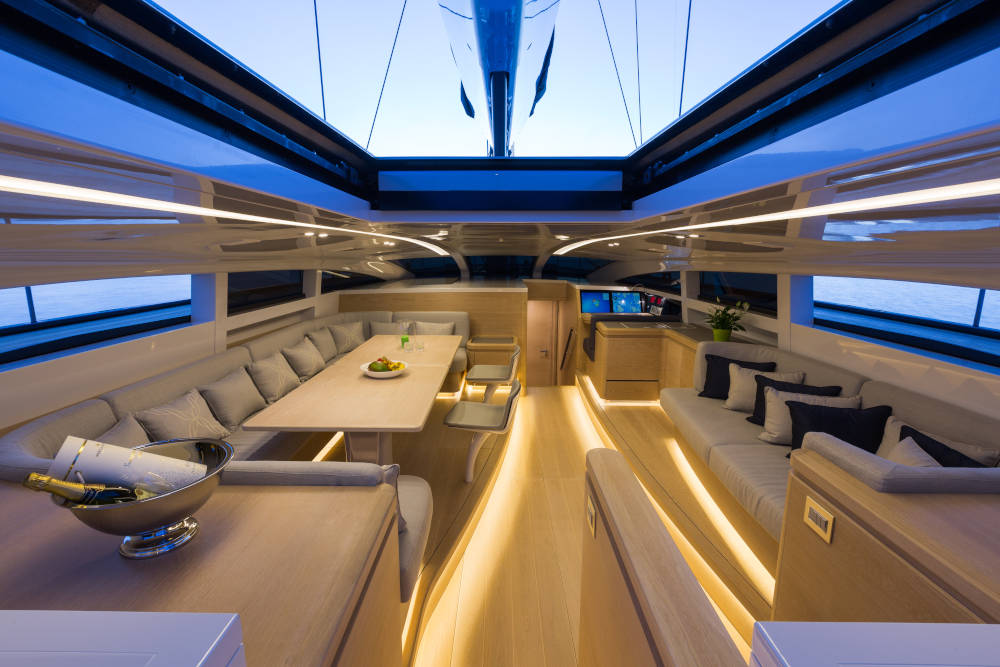
For architecturally designed spaces, the most professional method for creating a removable access panel is to custom mount. A customized approach ensures seamless integration with the surrounding interior finishes, meeting both functional and aesthetic requirements. For the most seamless appearance, the same panel material and mounting system can be used either across the entire wall or throughout the interior space, making the access panel indistinguishable from its surroundings. Custom mounting solutions include traditional French cleats and Z-clips, or innovative Fastmount clips that have additional benefits like allowing for the non-sequential removal of panels, and thus deliver greater efficiency.
Selecting the Best Access Panel Installation Method
Remember, when selecting your installation method, consider:
- Panel material and weight
- Frequency that access is required
- Interior finish specifications
- Installation location accessibility
Project specifications often dictate mounting requirements, with commercial applications typically demanding higher load capacities and more frequent access considerations. Material selection impacts not only aesthetics but also mounting system compatibility, with different substrates requiring specific fastening approaches. The right installation method will balance functional requirements with aesthetic demands, ensuring your access panel serves its purpose while maintaining the visual integrity of your space.
Successful wall access panel installation requires thoughtful planning that addresses both immediate installation needs and long-term performance considerations. By carefully evaluating panel materials, access requirements, and aesthetic demands, professionals can select mounting solutions that provide reliable functionality while maintaining design integrity.
Which fasteners or mounting systems are best for removable/hidden wall access panels?
Different project types demand specific mounting approaches based on what the project priority is.
High-end residential and commercial projects: Fastmount clips deliver the seamless aesthetics required while maintaining professional removability. The hidden mounting eliminates visible hardware that compromises design integrity.
Utility and maintenance areas: Traditional screw mounting may suffice where aesthetics are secondary to cost considerations, though frequent access requirements still favor more sophisticated systems.
Marine and moisture-prone environments: Fastmount’s corrosion-resistant materials outperform standard magnetic or spring-loaded systems that deteriorate in challenging conditions.
Heavy duty applications: French cleats, Z-clips, and Fastmount systems all handle substantial loads, but Fastmount eliminates the lifting clearance requirements that can limit both cleat and Z-clip installations.
The mounting system selection directly impacts project outcomes beyond initial installation. Systems requiring tools for removal increase maintenance costs and downtime, while visible hardware compromises the professional finish that clients expect in premium applications.
Cost-benefit analysis: While advanced mounting systems like Fastmount represent higher initial investment, the elimination of callbacks for loose fasteners, improved client satisfaction, and reduced maintenance time often justify the premium for professional installations.
How to install a wall access panel in drywall
Drywall installations present unique challenges due to the material’s relatively soft composition and the need to locate structural supports. Professional installation requires careful planning to ensure both secure mounting and easy future access.
Tools and materials needed
Essential Tools
- Measurng tape for accurate panel sizing
- Drywall saw or jab saw for cutting openings
- Level to ensure proper alignment
- Pencil or marker for marking cut lines
- Drill when required
Required materials
- Access panel
- Construction adhesive (for traditional panel mounting methods)
- Fastening hardware (screws, clips, or fastening system)
Step-by-step drywall installation process
Step 1: Layout and measurement Determine where components need to be accessed and take measurements to mark the drywall location exactly. This prevents cutting mistakes that require drywall patching.
Step 2: Panel positioning Place the panel frame against the desired wall area, balance a level on top, and trace around the inner frame with a pencil. Hold the panel against the drywall and trace a line around the frame edge where cutting is required.
Step 3: Cutting the opening Cut out the measured section using a jab saw, making sure to feel for any piping or wiring to avoid cutting into them. Using a drywall saw, cut just outside the traced line.
Step 4: Traditional panel installation Line the inner lip of the frame with construction adhesive, then mount the panel either flush or surface mounted. Press firmly around the edges to ensure good adhesion.
Fastmount hidden system installation for drywall
For professional hidden access panels in drywall applications, Fastmount’s Low Profile Range specifically includes the LP-DF8 clip designed for drywall installations.
To learn more, visit A Guide to installing drywall panels

How to build a hidden wall access panel
Hidden access panels require precise installation to achieve seamless integration with surrounding wall surfaces while maintaining full functionality for maintenance access.
Requirements for seamless integration
Material matching: Use identical panel material and finish as the surrounding wall surface, including matching texture, color, and any directional patterns. Perfect alignment is critical for negative detail installations, as even minor misalignments become highly visible in the finished result.
Mounting precision: Traditional mounting methods often lack the precision required for seamless installations. Fastmount’s system provides center point markers and installation tools that offer clear reference points for positioning.
Hidden installation technique
Fastmount hidden system process: The PC-M1B and PC-F1A clips offer adjustment capability, allowing installers to fine-tune panel positions after initial placement. Use CT-03 tool to fit PC-F1A female clips, then insert center point CP-01ST into female clips to mark exact locations on the panel where corresponding male clips need installation.
Alignment and finishing: Fastmount’s approach maintains uniform spacing between panels while their Standard Range ensures panels remain perfectly aligned. The clip system’s secure mounting prevents panels from shifting over time, maintaining precise spacing critical to professional finishes.
Professional installation tips
Different clip types require specific installation approaches – some are self-tapping, others require screws or adhesives. Most manufacturers provide installation guides and videos showing the correct process for their specific products. For panels requiring frequent access, it’s recommended to install male clips last as they can be more easily damaged during handling.
How to make a removable access panel in a wall
Removable panels are designed to be attached and reattached hundreds of times, requiring hardware that can handle repeated installation. The success of a removable panel relies heavily on the strength and quality of the fastening system.
Planning for removability
Access frequency considerations: Before beginning installation, identify hardware and mounting methods that are strong and durable enough to handle repeated installation. Consider whether daily access requires tool-free removal or if periodic access can tolerate more complex mounting.
Hardware durability requirements: Plastic fasteners have low durability and will fatigue after prolonged use, eventually degrading, warping, or breaking after repeated panel removal. Professional applications benefit from more robust mounting systems.
Removable panel installation steps
Installation process for clip systems: Mark the location on the wall where fasteners will be located. Install the female side of the fastener on the marked location using self-tapping screws. Set the center point marking tool in the female anchors, line up the panel, and apply light pressure to mark the correct location on the panel. Install the male side on the panel on the indentations left by the centering device, then snap the panel in place.
Testing and adjustment: Test the removal and installation process multiple times during initial setup to ensure smooth operation and proper alignment before finalizing the installation.
Installing Access Panels for Electrical and Plumbing
Access panels for electrical and plumbing systems must meet specific safety requirements and building code compliance standards. These installations require additional planning for regulatory adherence and worker safety.
Code Compliance Requirements
Electrical access: Building codes typically require electrical panels to be readily accessible with adequate working space. Electrical access panels generally cannot be located in bathrooms or near easily ignitable materials. Most codes require sufficient clearance around electrical equipment for safe maintenance access.
Plumbing access: Building codes commonly require access to adjustable plumbing components such as pressure regulators. Mechanical connections that may require future service typically need to remain accessible, while permanent connections can often be concealed. Access panels are frequently installed behind bathtubs and showers for valve maintenance.
Installation Considerations
Safety first: Turn off electrical power or water supply before installation. Follow local safety regulations and manufacturer guidelines for working around utilities.
Location planning: Position panels to provide adequate maintenance access while meeting code clearance requirements. Consider future service needs when determining panel size and placement.
How to Install a Ceiling Access Panel
Ceiling access panels require attention to structural integrity and proper sealing while providing necessary maintenance access to overhead systems.
Planning and Sizing
Location selection: Position panels in less visible areas when possible, close to equipment requiring access. Panels must be centered between ceiling joists for proper support.
Size considerations: Determine whether the opening needs to accommodate a person or just provide hand access. Standard panel sizes range from small utility access to larger service openings.
Installation Process
Structural considerations: Mark panel location between ceiling joists and cut carefully to avoid damaging concealed utilities.
Finishing: Choose flush panels for seamless appearance or surface panels for easier installation. Paint panels to match ceiling finish and ensure proper sealing to maintain thermal barriers.